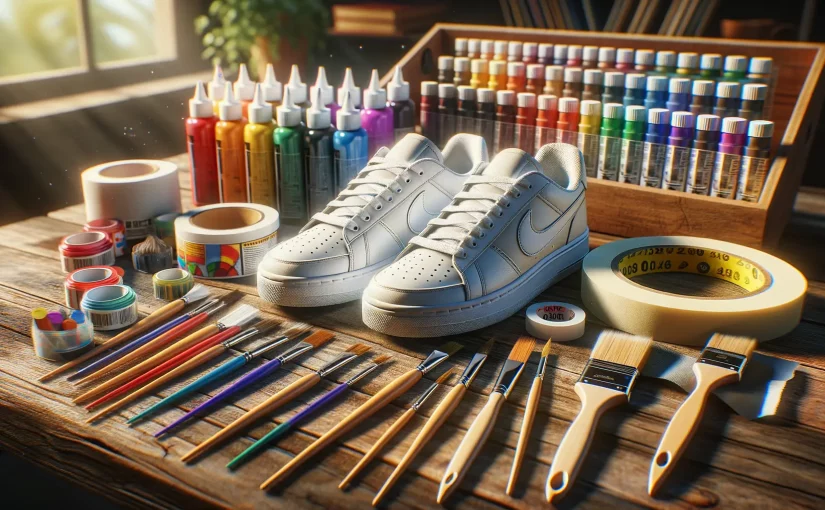
Understanding the Basics of Sneaker Customization
Have you ever looked at a pair of sneakers and thought, “These could be SO much cooler?” Well, welcome to the thrilling world of sneaker customization—where boring kicks get a personality upgrade! Before you dive in, let’s break down the essentials so you’re not flying blind. Trust me, it’s easier—and way more fun—when you start with the right knowledge.
Why Customize Your Sneakers?
Your sneakers tell a story, so why not make it personal? Customization lets you express your vibe, whether that’s bold splashes of color, intricate designs, or subtle tweaks that scream “one-of-a-kind”. Imagine turning an everyday pair of white sneakers into wearable art that people can’t stop staring at. From streetwear enthusiasts to casual creatives, sneaker customization turns heads and starts conversations.
The Core Elements to Know
Before you grab a paintbrush or marker, understand the canvas you’re working on—those sneakers! Materials matter. Leather holds paint differently than mesh, while canvas opens up a world of possibilities. Preparation is key too. Cleaning those kicks thoroughly isn’t just a chore; it’s the first step to a flawless finish.
- Leather: Durable but needs special paint for flexibility.
- Canvas: Super versatile and great for bright, bold designs.
- Mesh: Tricky but worth it for that breathable vibe!
The goal? Understanding your tools and materials so you feel confident as you reimagine your sneakers. It’s the difference between creating something cool and crafting something unforgettable.
Essential Tools and Materials for Customizing Sneakers
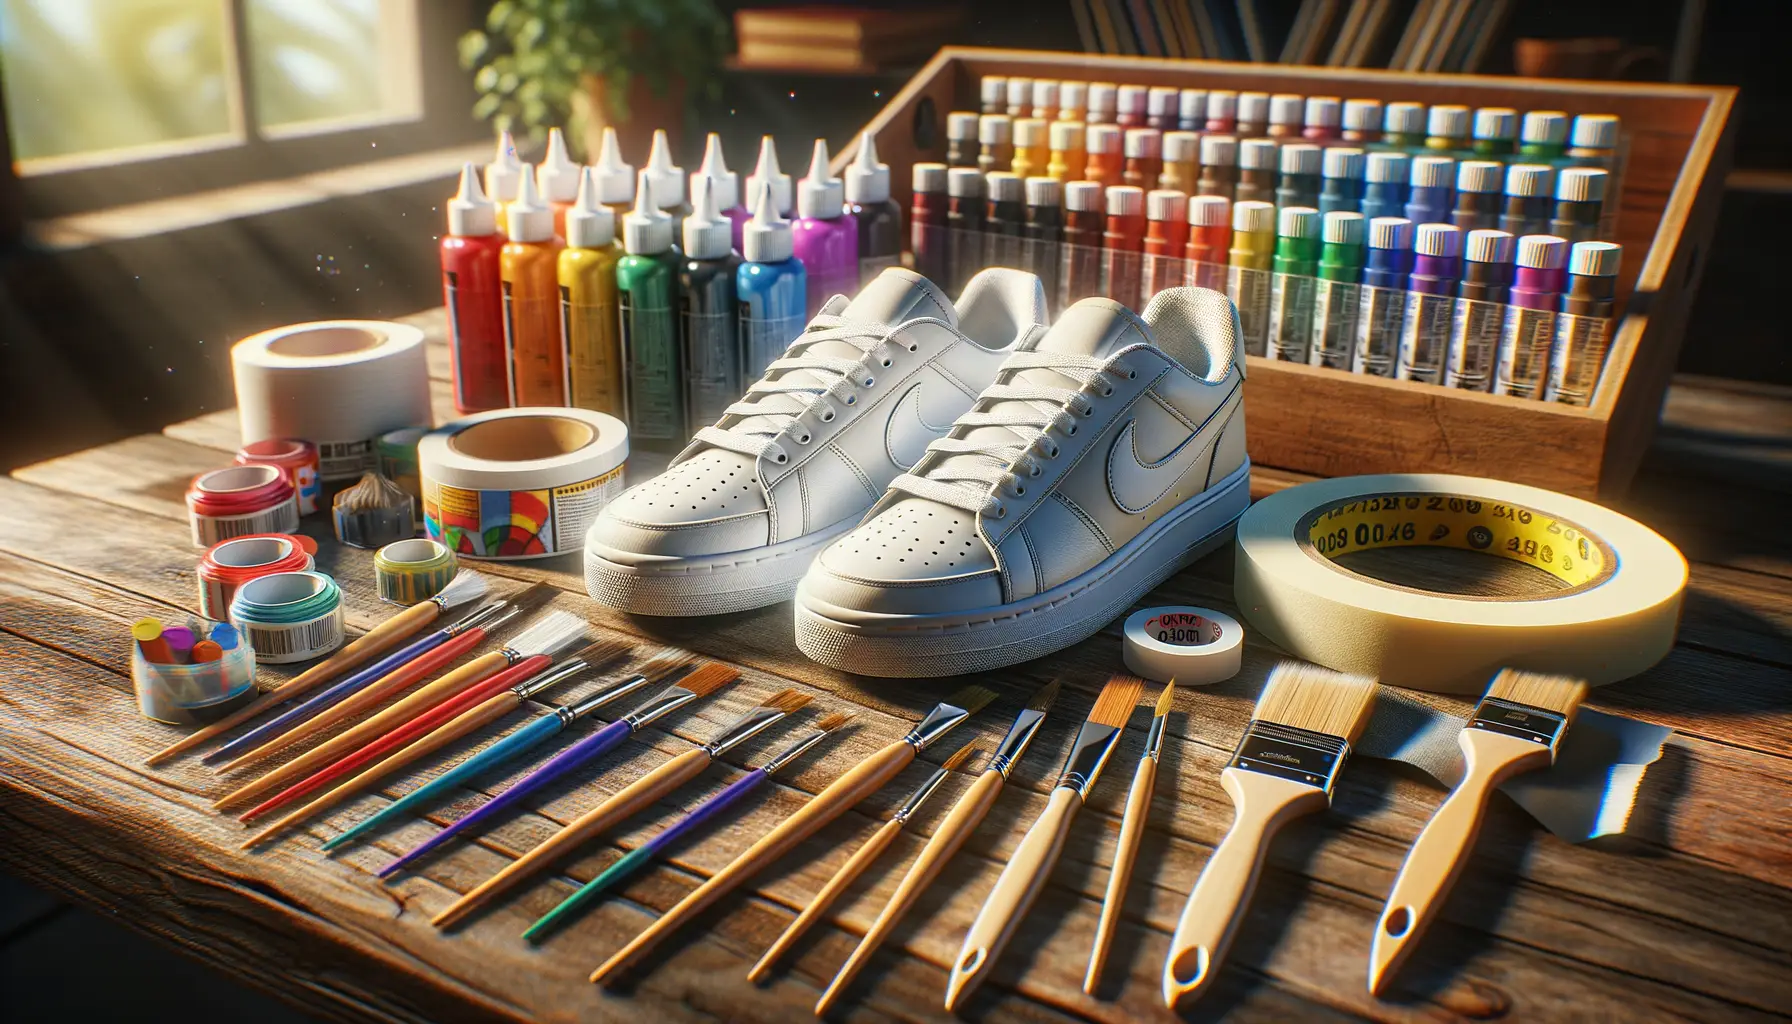
Gear Up: Must-Have Tools for Sneaker Customization
When it comes to transforming a pair of sneakers into wearable art, having the right tools at your fingertips can make or break your masterpiece. Think of these as your artist’s palette—without them, your vision stays trapped in your imagination.
Start with paintbrushes in various sizes. Fine-tip brushes are indispensable for those intricate details like swooshes and patterns, while broader ones help cover larger areas swiftly. Pair these with high-quality acrylic paints made for leather; trust me, you don’t want to see your amazing colors cracking after one wear!
Are you planning to create clean, precise lines? A roll of painter’s tape is your best friend. It keeps the edges sharp and your design looking pro-level. And don’t forget the humble sandpaper—it preps the surface for paint adhesion like a charm.
- Fabric markers: Perfect if you’re working on canvas shoes. They give you bold, vibrant strokes without bleeding.
- Cutting mat and X-Acto knife: Want custom stencils for that jaw-dropping design? These are non-negotiable!
Secret Weapons Every Sneaker Artist Swears By
Ever heard of Angelus leather prep and deglazer? This miracle liquid removes factory finishes so your sneakers become a blank slate. No peeling, no flaking—just buttery smooth application! Another under-the-radar hero? A heat gun. Use it to ‘set’ your designs and ensure they survive everything from rainy days to wild parties.
Oh, and let’s not overlook sealers. Think of them as your design’s bodyguard, shielding it from scratches, moisture, and time. Trust me—you’ll thank yourself later when someone steps on your custom kicks (because, let’s face it, someone always does).
Dive deep into experimentation, but don’t underestimate how an organized workspace with these essential tools can turn chaos into creation!
Step-by-Step Techniques for Creating Unique Designs
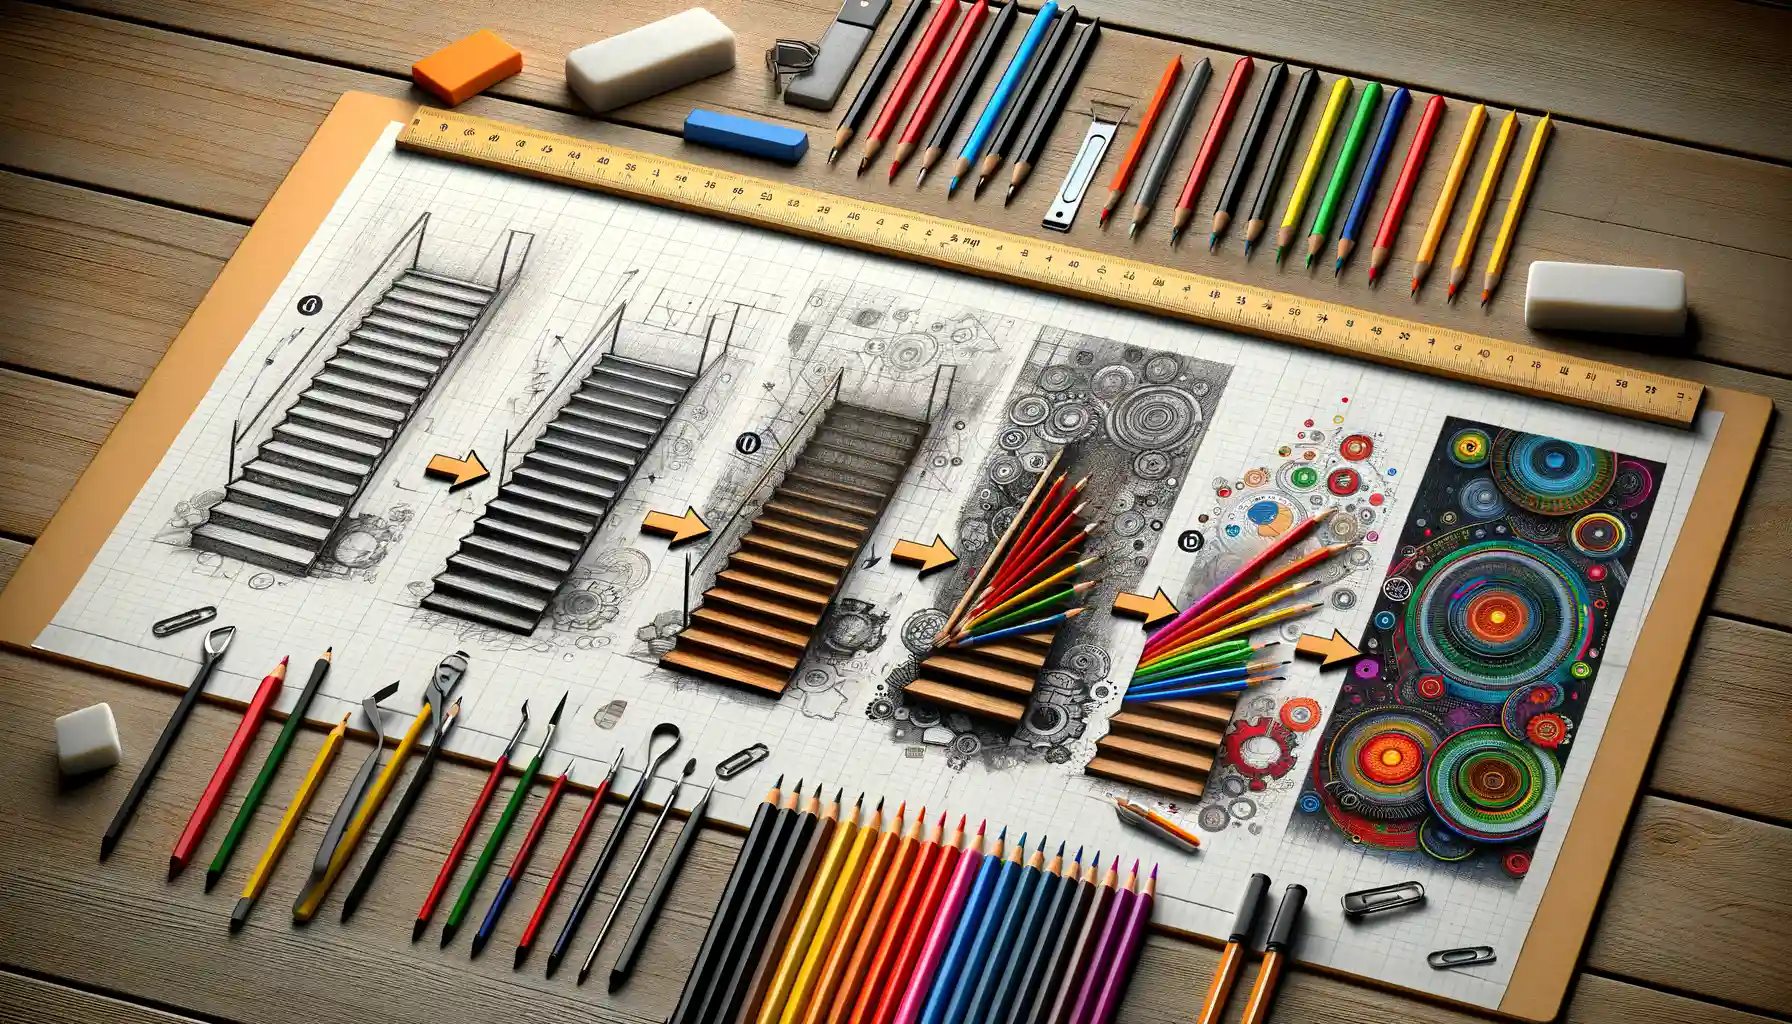
Unleashing Your Creativity: First Strokes of Art
Transforming a blank sneaker into wearable art starts with your vision. Close your eyes and picture your masterpiece. What story do you want to tell? Your design should be personal—maybe it’s a tribute to your favorite sports team or a splash of color inspired by sunsets over the city skyline.
Once your vision is locked, begin lightly sketching directly on the shoe with a pencil. This is where dreams become tangible, like plotting stars for a constellation. Be gentle; this stage is about experimenting without fear of mistakes. Not sure where to start? Try these ideas:
- Replicate a bold geometric pattern for a modern vibe.
- Layer floral motifs for soft, nature-inspired elegance.
- Channel street art with graffiti-style lettering or symbols.
Adding Layers That Speak Volumes
Here’s where brushes meet brilliance! Start painting in thin, even layers using high-quality acrylic paints designed for leather or fabric. Trust me, *patience* is your best ally—let each layer dry completely before applying another. Hooked already? Add texture by blending colors or softly dabbing a sponge for a gradient effect.
And don’t overlook the details! A fine-tipped brush is perfect for crisp lines or intricate patterns. Want something bold? Incorporate metallic accents that shimmer like a late-night city glow. The beauty of customized sneakers lies in the details—they’re whispers of your personality, woven into every stroke.
Common Mistakes to Avoid in Sneaker Customization
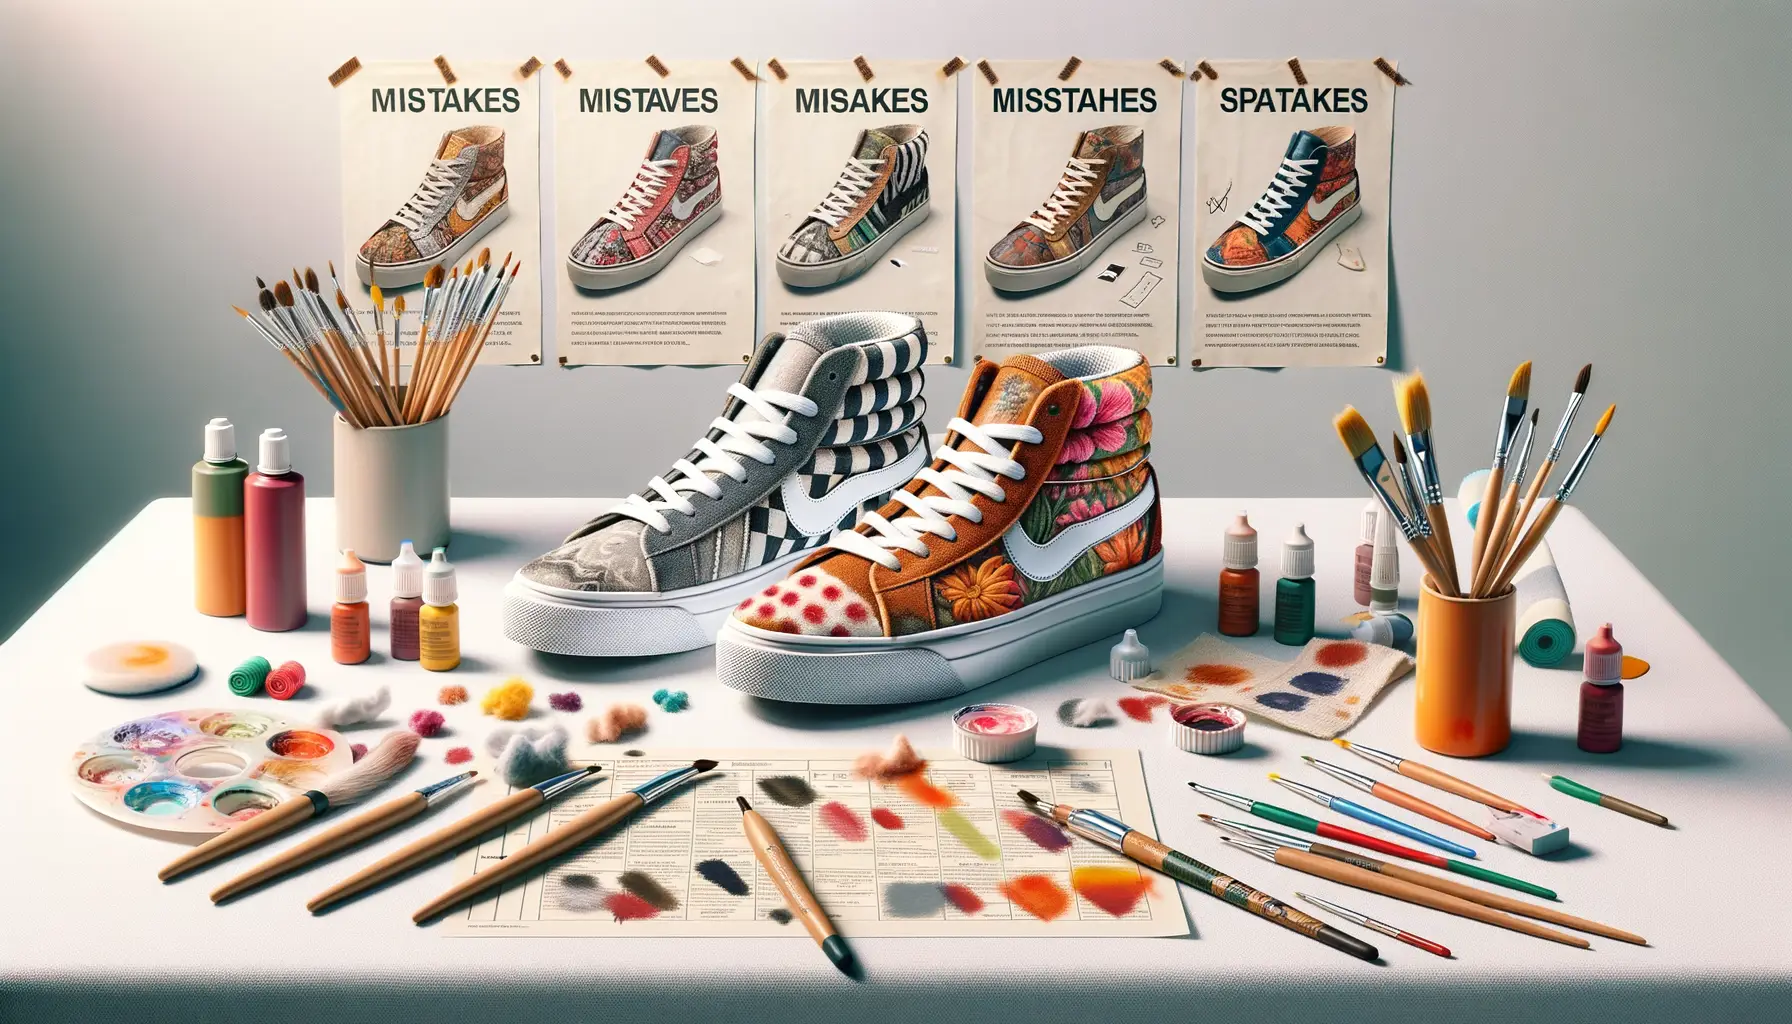
Watch Out for the Sneaker Customization Pitfalls
Sneaker customization can feel like stepping into a vibrant art studio—exciting, limitless, and oh-so-rewarding. But let me tell you, it’s also easy to slip up and turn your dream design into a cringe-worthy regret. Mistakes happen, but a little foresight goes a long way!
Here’s a big one: neglecting to properly prep your sneakers. Think of your shoes as a blank canvas—it won’t hold paint if it’s coated in dirt or factory finish. Skipping this step is like painting a masterpiece on a greasy pizza box. Always clean, sand, or deglaze those kicks for a long-lasting result!
Another trap? Overloading your design. It’s tempting to throw all your ideas, colors, and patterns onto one pair of shoes, but too much can turn “Wow!” into “What happened?”. Start simple, focus on key elements, and build from there.
- Poor-quality materials equal poor-quality results: Cheap paints crack, low-grade brushes shed, and weak adhesives don’t stick. Trust me, your sneakers deserve better.
- No test runs? Big mistake. Always try your techniques on something expendable first—like an old shoe. Don’t practice on your prized Jordans.
And remember: patience is your best friend. Rushed coats of paint, skipped drying times—they’ll come back to haunt you. Take your time; your sneakers (and your future self) will thank you.
Tips for Maintaining and Preserving Your Customized Sneakers
Give Your Sneakers the VIP Treatment
Your customized sneakers aren’t just shoes; they’re walking art pieces that deserve royal treatment. Picture this: you’ve spent hours crafting every line, splash of color, and intricate detail. So, how do you ensure your masterpiece stays fresh and fabulous? Let’s dive in.
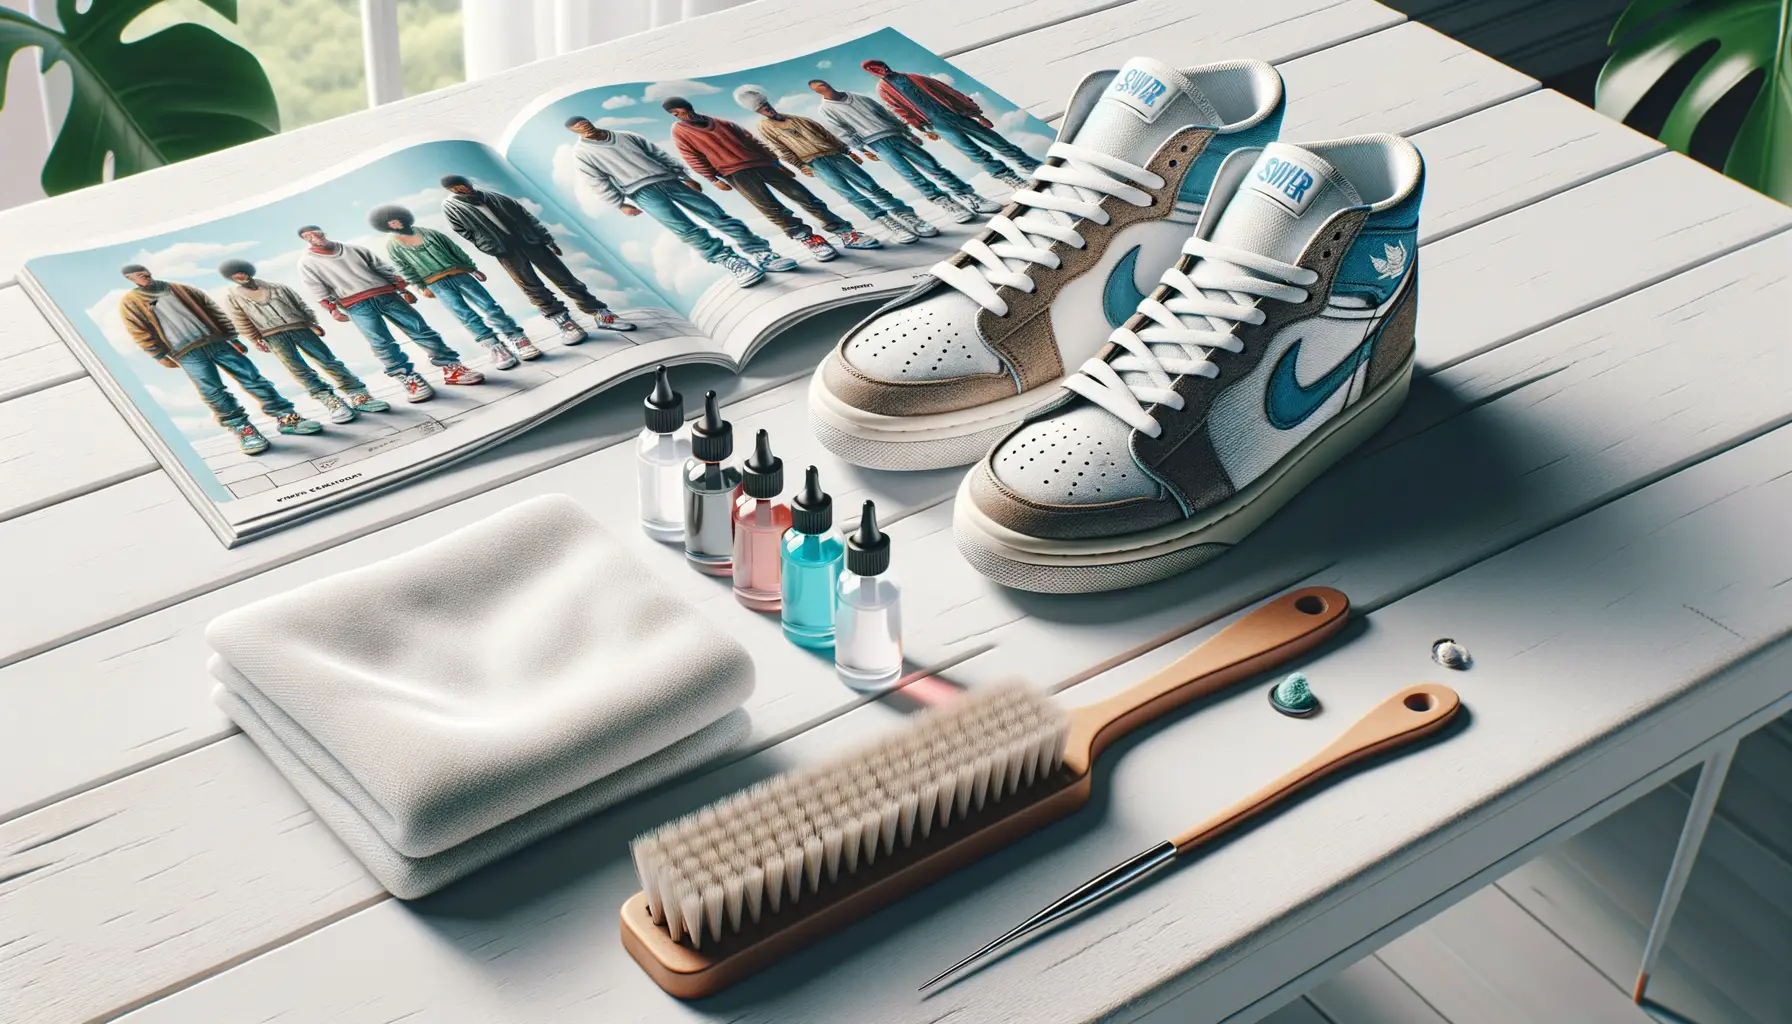
First things first—cleaning! Dirt doesn’t care about your artistry, but you do. Use a soft-bristle brush, lukewarm water, and a touch of mild soap to gently scrub those kicks. And please—step away from harsh chemicals; they can fade or damage your design faster than you can say “oops.”
Storage is another biggie. Don’t let your sneakers bake in sunlight like cookies left too long in the oven. UV rays are the silent enemy of vibrant colors. Instead, store them in a cool, dry spot with minimal light exposure.
- Pro tip: Stuff your sneakers with acid-free tissue paper to maintain their shape.
- Swap out shoeboxes for breathable storage bags to avoid trapping excess moisture.
Protect That Custom Finish Like a Pro
Here’s the golden rule: seal your work! After your sneaker masterpiece is complete, apply a high-quality waterproof spray designed for leather or fabric. This will act as an invisible shield, protecting against water, dirt, and life’s little accidents (we’re looking at you, coffee spills).
But don’t stop there! Reapply your spray every few months—think of it as giving your sneakers regular armor touch-ups. And remember, when lacing up for the day, choose your occasions wisely. Rock your customs at events, not during surprise rainstorms or muddy trails.
Treat your sneakers as more than footwear—they’re your canvas, your story, and proof that style meets skill!

